Specs & Ratings
Bottom Line
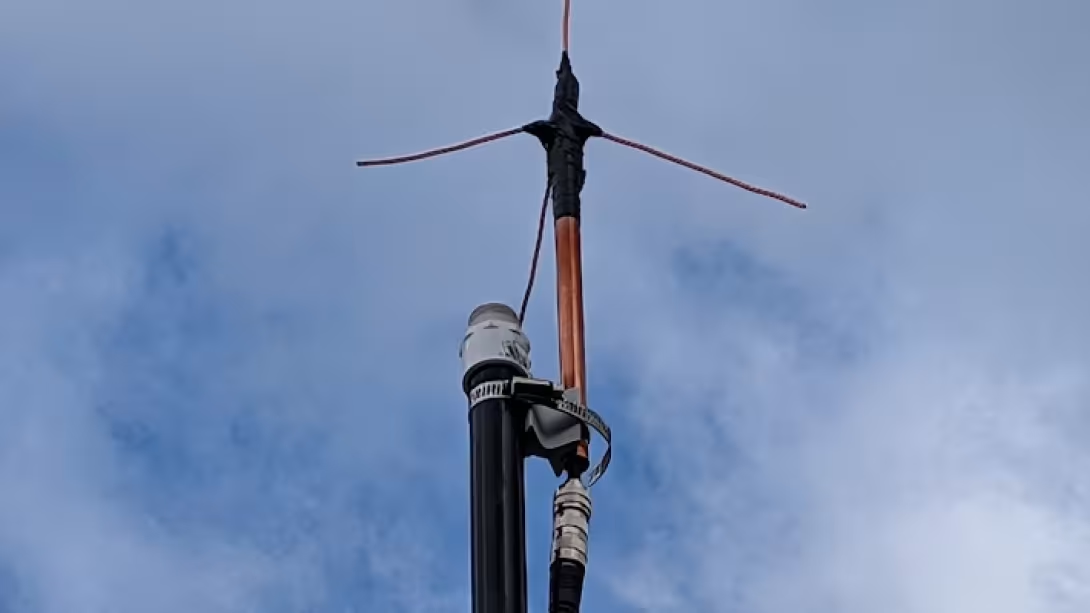
In our quest for the ultimate DIY hamshack antenna combination, we stumbled across Rick's Ham Shack video on making a UHF + GMRS antenna based on a 1980's CB style antenna design called "the Starduster". We decided to try Rick's DIY design out for ourselves to see what our results would be.
Pros
- A fun DIY project for those who love to tinker
- Demonstrates solid SWR in UHF and GMRS and performs decently per our testing
Cons
- NOT pretty.
- Requires some non-standard tools by most folks standards.
- Results not guaranteed.
Who This Is For
The DIY'er seeking an antenna that can do UHF and GMRS effectively. Combine it with a diplexer and a VHF specific antenna and you've got the most common LOS local area comms frequencies covered!
Testing Notes
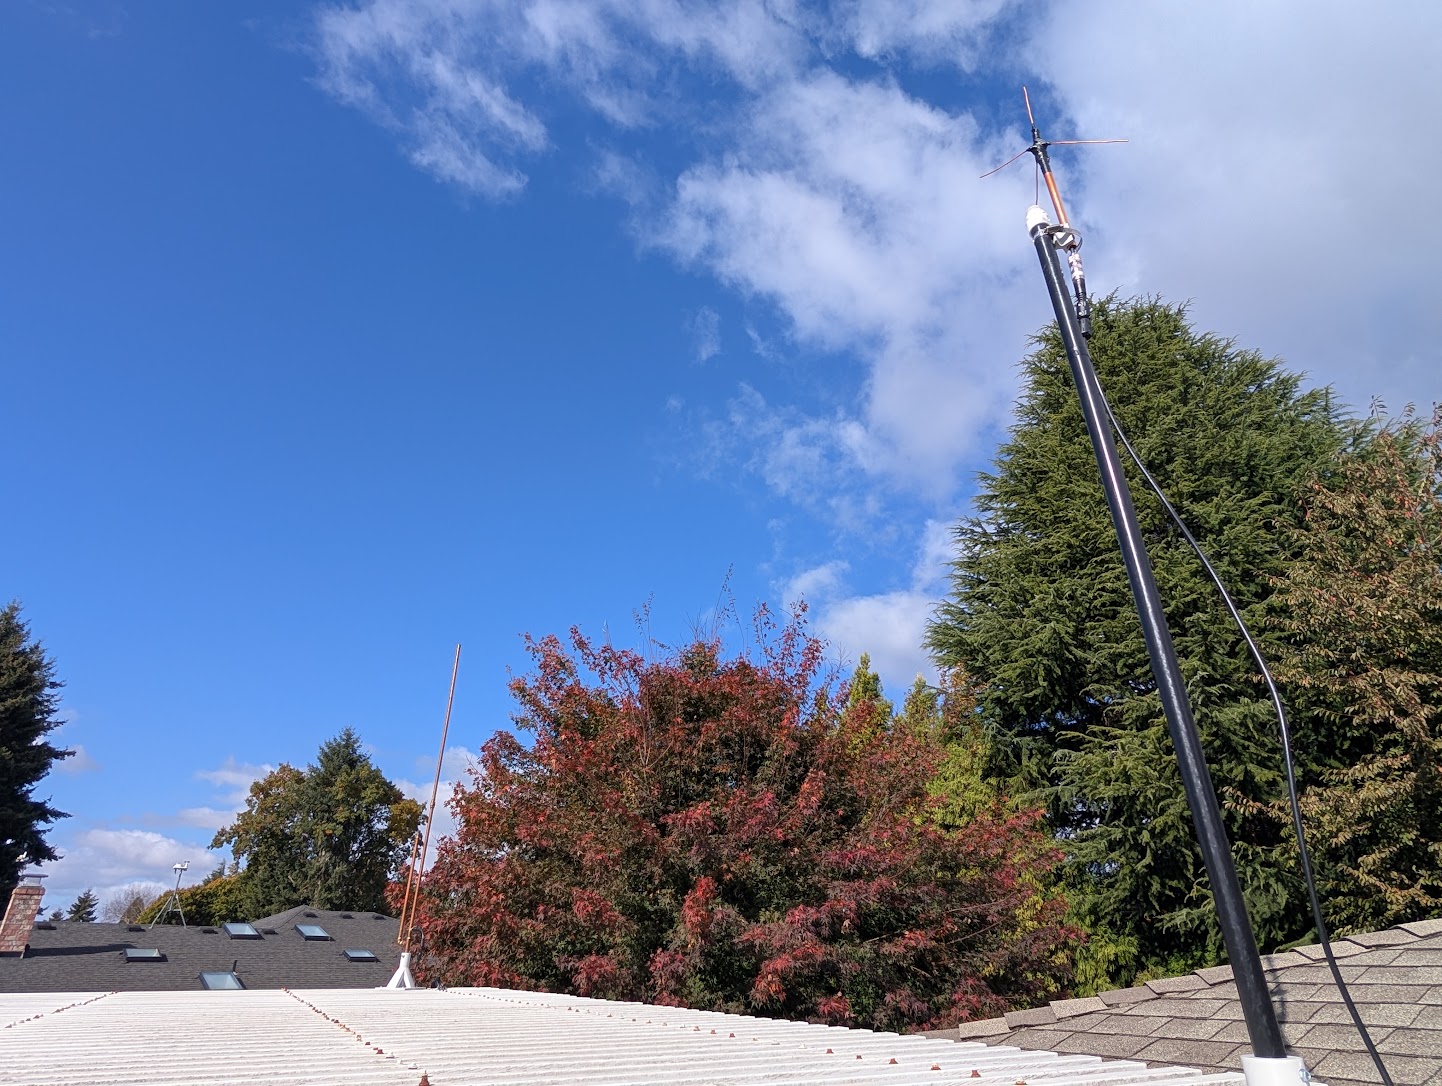
We tested this utilizing our NanoVNA setup, along with tested it as implemented into our Diplexer article for the ultimate VHF/UHF coverage setup. Rick's Ham Shack did all the modeling and initial demonstration of the Antenna, we just wanted to try it out for ourselves! From there we tested it on some local repeaters and got signal reports from operators there. In the future we'd love a repeater that can take a DTMF tone and play back our transmit and give us DB gain back.
DIY STEPS & Detailed Review
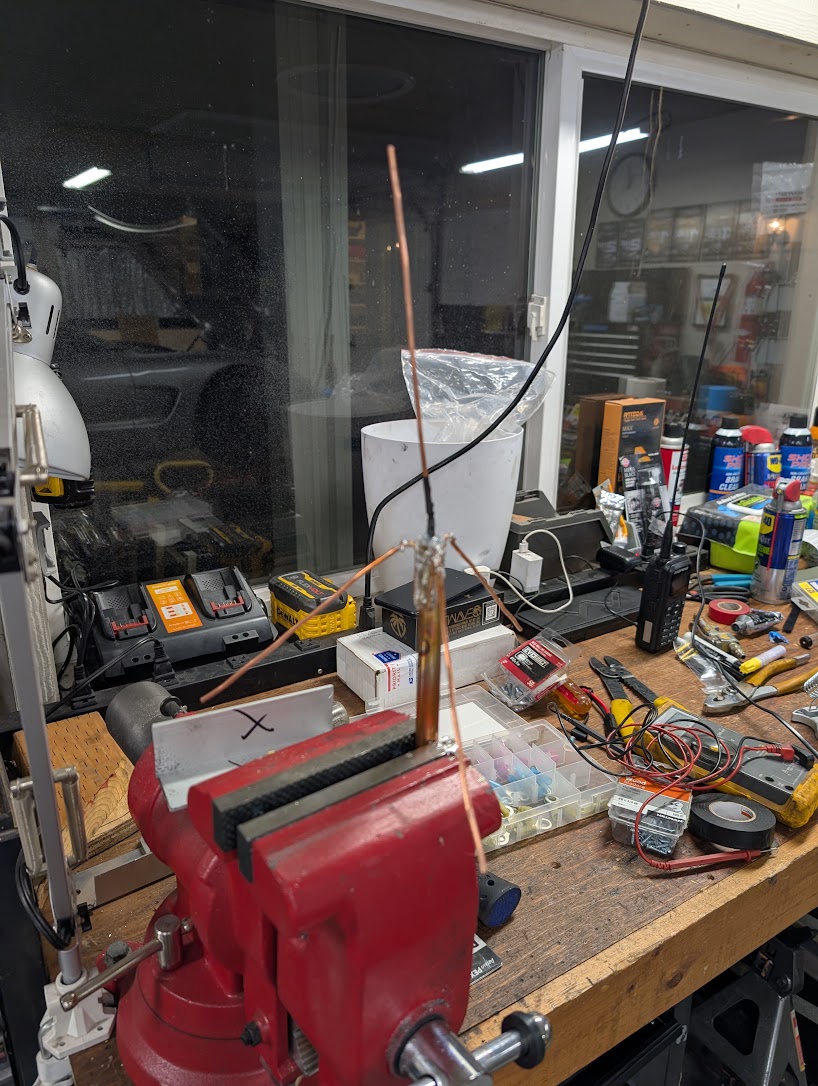
So we're going to start with a bit of a warning, this is not a hard DIY task, but it may take more than most folks have on hand. Here's the parts list we needed to follow Rick's Ham Shack DIY tutorial, which we feel is helpful since his list is missing a bunch of details or intermingled with commentary during the construction phase
Parts Needed to make the RHS Starduster:
- 12 Gauge Copper wire
- 4x pieces cut to X length and bent at 45 degrees at Y distance from the end
- 1x piece cut to X Length as athe center conductor
- 10" long 1/2" diameter copper tubing
- 1 foot PL-259 connectors
- SO-259 to SO-259 barrels (connect your antenna to another PL-259 based coax wire)
- 2 Part Epoxy
- Silicone Tape
- 1x Hose Clamp (Hopefully you have one around, this link is to a 10pack)
Tools Needed:
- Multimeter
- Antenna Analyzer (Essential for fine tuning)
- Soldering Supplies
So with all that covered, let's show you his video, and then talk about our experience assembling the Antenna.
Now Rich's Ham Shack video is very detailed with a lot of information, but it's also a bit conversational so the meat and potatoes can get a bit lost in the mix. We boiled down the steps you need to take for you here:
- Cut 3x 7-1/8" (7.125") pieces of 10 gauge copper. Bend them each with a 45 degree bend at 6-1/8". They will have a J shape, or look like an old school tent stake.
- Cut 1x 6-1/2" (6.5") piece of 10 gauge copper as your center radiating element.
- Cut the end off of your 1' coax connector. Strip the wire back approximately 1" exposing the ground wire wrapping the center insulator. Move that wire aside. Strip the center insulator back, but leave a small amount of insulator remaining to help isolate the center conductor from the center conductor, which will attach to your radiating element.
- Tin the end of your center conductor, and the ground wire. RHS did his ground shield wiring as 3x wires. You can do a single wire no problem.
- Solder the 6.5" piece of 10 gauge copper to your center conductor. Slide a piece of heat shrink down over it and heat to ensure it remains isolated from your ground wires.
- Coat the top of your copper pipe in solder.
- Affix the 3x radiating elements to your 10" copper tube with a hose clamp. Solder them all together. Try and get them so they are evenly spread at 120 degrees apart (it should form a triangle)
- Pull your radiating element attached to your center conductor and coax etc up through the center of your 10" copper tube.
- Solder ground wire to outside of 10" copper tube.
- Confirm with a multi-meter that the center radiating element has no conductivity / signal with the ground.
- Secure center radiating element and then epoxy in place.
- Use silicone tape around the top of the antenna to both help stabilize the radiating element and help waterproof the design.
With all of that done, you've got an antenna! It may seem like a lot, but many of those steps take under 2 minutes. We were able to assemble our antenna in 30 minutes without too much stress. Where we think the real time investment however is in tuning. While in the video Rick's Ham Shack had an instantly good antenna tune, we were not so lucky.
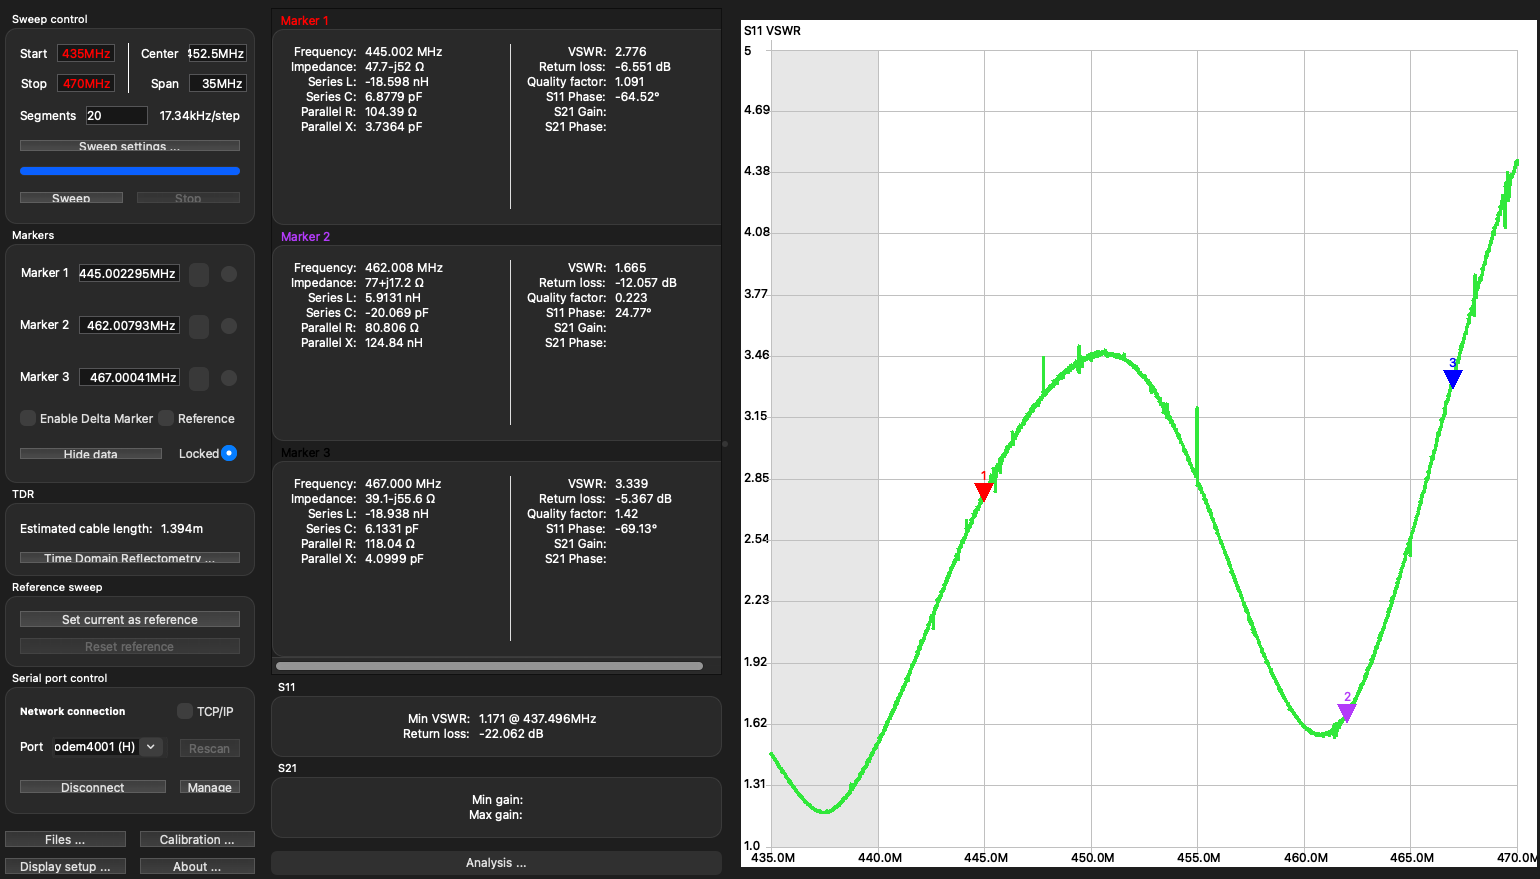
Our initial measurements are picture above, and for those who can't immediately tell, the antenna is tuned too low in frequency. You can see three distinct markers above, red being the middle of UHF voice, purple being the GMRS simplex channel frequencies, and blue is the GMRS repeater frequencies. We're well above a 2:1 SWR on a lot of key areas... but our dimps are quite low and that shows a lot of promise! What you'd want to do from here is shorten the primary radiating element, which increases the resonant frequency of the antenna. We went ahead and trimmed our radiating element 0.5-1mm or so at a time and remeasured our antenna every step of the way. We also at one point did a slight 1mm trim of our ground radials, and by the time we had done that and trimmed approximately 8mm off of the primary radiating element, we had what we felt were the best results we would get, which we'll discuss below.
Measured Wattage and SWR
Claimed Wattage: 5W
Measuring Device: NanoaVNA with NanoVNASaver
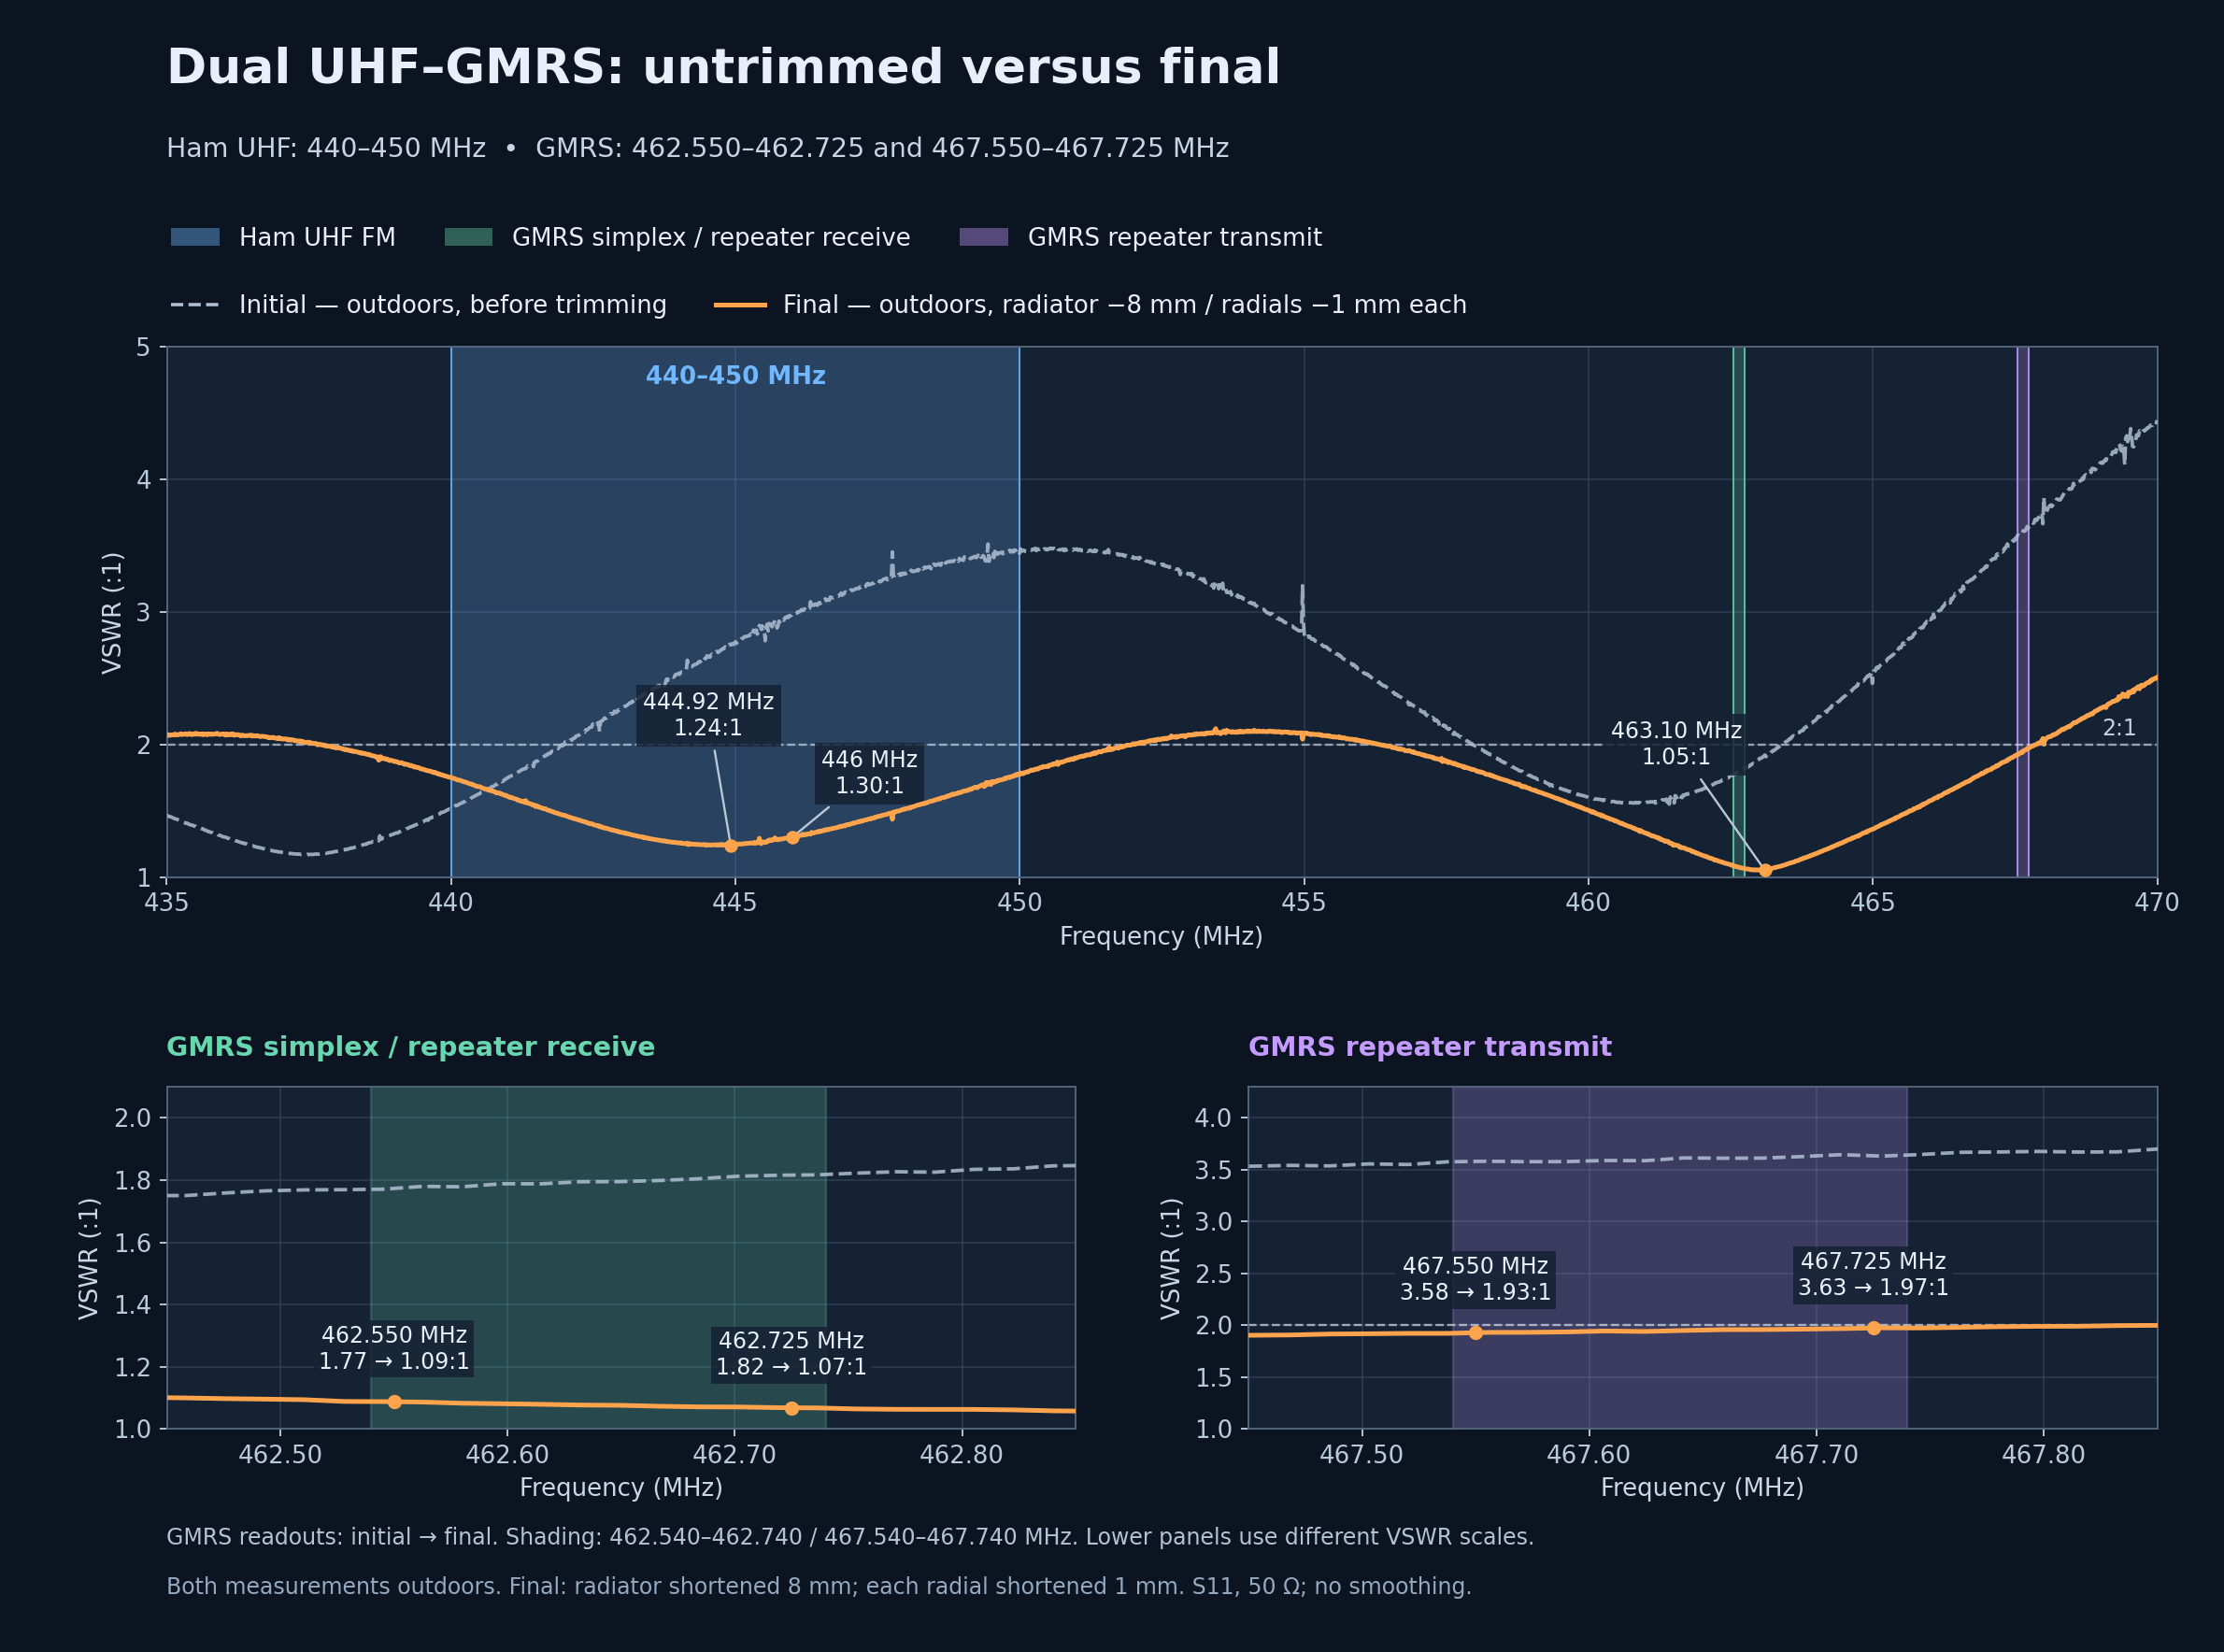
The final measured SWR picture above we are confident really dialed in a solid balance of UHF performance and GMRS coverage with this antenna design. We were able to center our UHF SWR curve at 445mhz, putting it smack dab in the middle of the UHF voice range. We were also above to adjust our GMRS curve so our Simplex frequencies were just about at the perfect location SWR wise, but we also were able to bring our repeater frequencies to under 2:1 SWR. That covers both bands with a reasonable SWR and puts our two key areas (UHF + GMRS RX) well within the peak points of resonance on the antennas. While further changes could have made improvements, at this point we were confident we'd surely push our UHF dip higher in frequency past our target frequency point while only managing to strike a mediocre balance on GMRS as the RX and TX would straddle the primary point of resonance.
How Did the Antenna Perform & Final Verdict
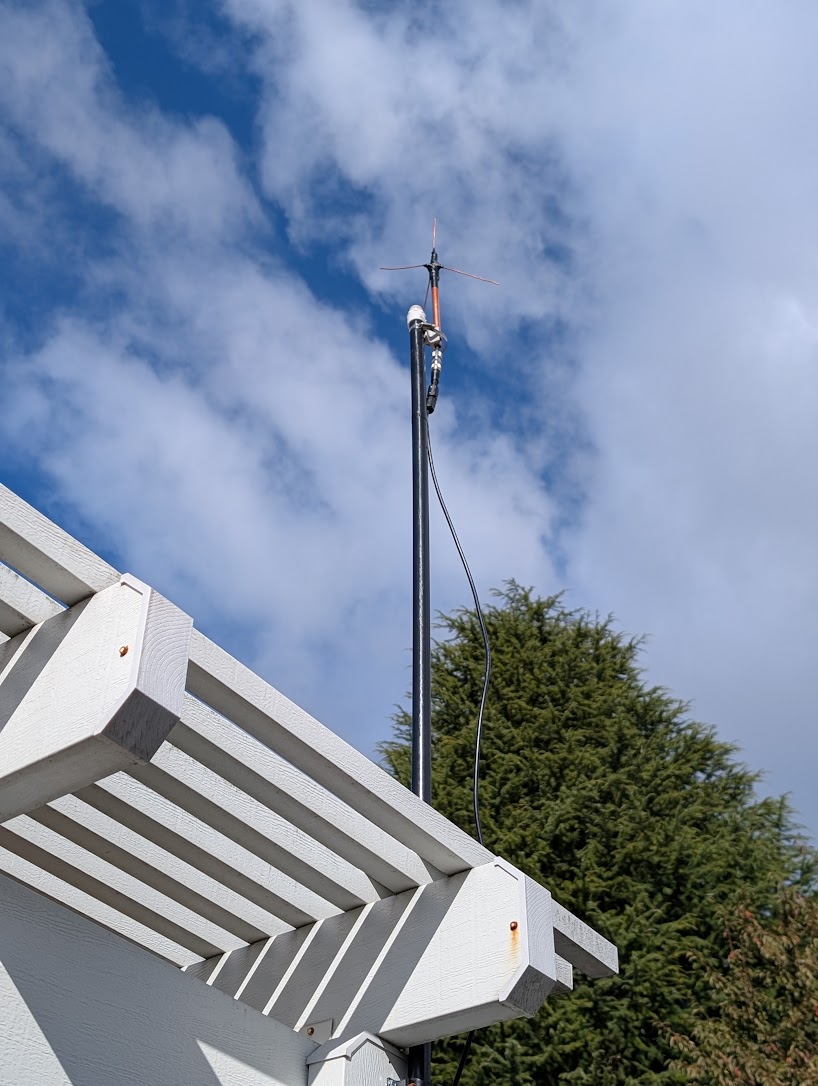
Putting the antenna into our Diplexer based setup we immediately started reaching out and making contacts on nearby UHF repeaters. Results and signal reports were good, and while they didn't exceed our previous dual band antenna (Ed Fong DBJ-1) it did succeed in one key area for that no other antenna setup had before: GMRS. We were able to catch various folks on GMRS and received solid signal reports. Not too shabby!
What's the final verdict on the RHS Starduster antenna? Well, as part of a diplexer based setup you can get some really nice VHF/UHF/GMRS coverage all in one antenna... but if that UHF/GMRS coverage isn't critical to you... a solid dual bander will cover VHF and UHF for much cheaper total cost and with far easier to achieve decent results. Plus, let's be honest this antenna does not look pretty, and even with the most refined design will still look a bit cobbled together.
Would we do this again or even recommend it? Not unless the person has a serious interest in DIY.